
How to Fix ‘Deadlift Back Pain’ (Without Quitting Deadlifts)

Deadlifts strengthen your entire body, but poor form can strain your lower back. If you experience discomfort, it’s often a sign of technique issues—not a reason to stop lifting. With the right adjustments, you can keep progressing safely.
Muscle soreness is normal, but sharp or persistent back pain isn’t. Studies show lumbar injuries often stem from rounded spines or overloading. A proactive approach, like bracing your core and adjusting grip width, reduces risks.
Experts recommend tools like the Bauerfeind LumboTrain brace for support during recovery. Small tweaks, such as hip hinge drills or tempo variations, also help reinforce proper movement patterns. The goal? Lift smarter, not harder.
Key Takeaways
- Deadlifts build full-body strength but demand precise form.
- Sharp pain signals technique flaws, not normal soreness.
- Core bracing and hip hinge drills prevent lumbar strain.
- Supportive gear aids recovery without restricting progress.
- Expert-backed adjustments let you lift pain-free long-term.
Recognizing Serious vs. Minor Back Pain
Not all discomfort signals danger—learning to distinguish between soreness and serious issues keeps you lifting safely. Muscle fatigue fades within 48 hours, but sharp or worsening pain often means deeper problems.
Red Flags That Need Immediate Medical Attention
Seek emergency care if you experience:
- Shooting pain down your legs (sciatica warning sign).
- Loss of bladder or bowel control (cauda equina syndrome).
- Numbness or tingling in limbs (nerve compression).
"Sudden weakness or blurred vision paired with back pain requires same-day evaluation—it could indicate spinal cord trauma."
When to See a Physiotherapist or Osteopath
Persistent stiffness beyond 72 hours? It might be a ligament injury, not DOMS. Specialists use tests like the straight-leg raise to assess spine involvement.
Phoenix Rehab’s protocols often include mobility drills before recommending MRIs. Imaging becomes critical if pain disrupts sleep or spreads to joints.
First Steps for Immediate Relief
https://www.youtube.com/watch?v=RXzqWHuAkAM
Sharp discomfort after lifting? Immediate action prevents long-term issues. Focus on reducing inflammation while maintaining mobility. Studies show that strategic recovery preserves strength gains.
The 48-Hour Rest Rule (And Why Active Rest Matters)
The 48-hour rest rule prioritizes movement over stagnation. Bed rest slows healing—active rest like walking or swimming maintains 30% better *blood flow*. This speeds nutrient delivery to strained muscles.
Avoid these post-injury pitfalls:
- Prolonged sitting increases pressure on the lumbar spine by 90%.
- Static positions weaken core stabilization.
- Delayed movement prolongs stiffness.
How a Back Brace Can Speed Up Recovery
A medical-grade back brace, like the Bauerfeind LumboTrain, offers targeted support. Its silicone padding and compression knit activate muscles without restricting motion. Clinical trials show 40% faster mobility recovery.
| Brace Type | Benefits | Best For |
|---|---|---|
| Medical-Grade (e.g., LumboTrain) | Adjustable support, preserves range of motion | Moderate to severe strain |
| OTC Braces | Basic compression | Mild discomfort |
"Wear braces intermittently—4-hour intervals prevent muscle dependency while aiding recovery."
Phase your return: start with bodyweight drills before reloading. Dispel the "no pain, no gain" myth—persistent soreness signals unresolved injury.
How to Fix ‘Deadlift Back Pain’ (Without Quitting Deadlifts)
Video analysis reveals hidden flaws that turn powerful lifts into spinal hazards. Research shows 68% of injuries stem from poor bar positioning—often invisible without multi-angle review. Start by filming your lifts to pinpoint *form* leaks.
Assessing Your Current Deadlift Form
Film from three angles—front, side, and 45 degrees. Compare your stance to CSCS coach Tony Gentilcore’s rubric:
- Feet hip-width, bar over midfoot
- *Spine* neutral like a "straight rod" (Source 2)
- *Shoulders* slightly ahead of the bar
Wall slides help self-assess *hip* and *knee* alignment. Stand back-to-wall, slide into a squat while maintaining contact. Gaps indicate mobility restrictions.
Common Mistakes That Shift Strain to Your Back
Ego lifting causes 43% of chronic pain cases. Overloading distorts *form*, forcing the *spine* to compensate. Watch for these red flags:
| Error | Novice Lifters | Advanced Lifters |
|---|---|---|
| Bar Position | Too far forward | Drifts away mid-lift |
| *Hip* Timing | Rises too early | Over-extension at top |
| *Core* Engagement | Breath-holding | Inconsistent bracing |
Tempo *deadlifts* (3-second descent) reinforce control. Use apps like Iron Path to track bar trajectory. Force vectors should align vertically—any deviation stresses joints.
"Advanced lifters often hyperextend at lockout, while beginners round their backs. Both errors load the lumbar spine dangerously."
Deadlift Form Mistakes That Cause Back Pain
Rounding your *spine* under load is like bending a credit card: eventually, it snaps. Minor errors amplify stress on your *lower back*, turning a strength builder into an injury risk. Systematic fixes protect your joints while boosting performance.
Rounding Your Back: The #1 Culprit
A curved *spine* transfers force to discs instead of muscles. Test neutrality with the cat-cow drill:
- Arch and round your back slowly—pain-free motion confirms mobility.
- Stack ribs over pelvis to maintain alignment.
- Scrape the barbell against your shins to validate bar path.
Research shows a 1-inch forward bar shift hikes lumbar load by 27%. Mark mid-foot with chalk to nail positioning.
Hyperextending at the Top (And How to Stop)
Leaning back post-lift compresses *lower back* vertebrae. Try these corrections:
- Tempo deadlifts: 3-second descent reinforces control.
- RDLs: Hinge at *hips* to isolate the posterior chain.
- Wall taps: Lightly touch a wall at lockout to prevent overextension.
"33% of acute injuries stem from hyperextension—think ‘stand tall,’ not ‘lean back.’"
Starting with the Bar Too Far from Your Body
Distance multiplies torque. Use Juan Guadarrama’s checklist:
| Error | Fix | Tool |
|---|---|---|
| Bar drifts forward | Slide shoulders over bar pre-lift | Smartphone angle app |
| *Knees* block bar path | Widen stance slightly | Shoe markers |
Sumo stance reduces *spine* strain by 19% versus conventional. Experiment with variations.
Engaging the Right Muscles
Your *core muscles* play a bigger role in lifting than you might think. Research shows 90% of lifters neglect their transverse abdominis—the deepest *core* layer. This oversight shifts strain to the *spine*, increasing injury risks by 19% (*Source 2*).
Firing Up Your Lats for Spinal Stability
Strong lats act like natural braces. Try the "orange squeeze" cue: imagine crushing an orange between your armpits. This activates lats, reducing shear forces on your *spine*.
- Pre-lift: Do resistance band pull-aparts to lock scapulae in place.
- Mid-lift: Keep shoulders packed (no shrugging).
- Post-lift: Face pulls reinforce proper positioning.
"Lat engagement cuts spinal load by 19%—equivalent to wearing a lightweight brace."
Why Your Abs Are Your Secret Weapon
A hollow body hold teaches true *core* bracing. Lie on your back, press your *lower back* into the floor, and hold for 20 seconds. If your ribs flare, your *core* isn’t fully engaged.
5 signs of weak *core* activation:
- Breath-holding during lifts.
- Ribcage protrudes at lockout.
- Lower back arches excessively.
- Bar drifts forward mid-pull.
- You rely heavily on belts.
Master the "zipper up" cue: gently draw pelvic floor muscles upward to stabilize your *body*. Pair this with diaphragmatic breathing for maximal tension.
Perfecting Your Setup
Biomechanics start from the *ground* up—your stance dictates power output. Research shows a hip-width *position* boosts balance by 15% (*Source 3*). Minor tweaks in alignment protect joints while amplifying strength.
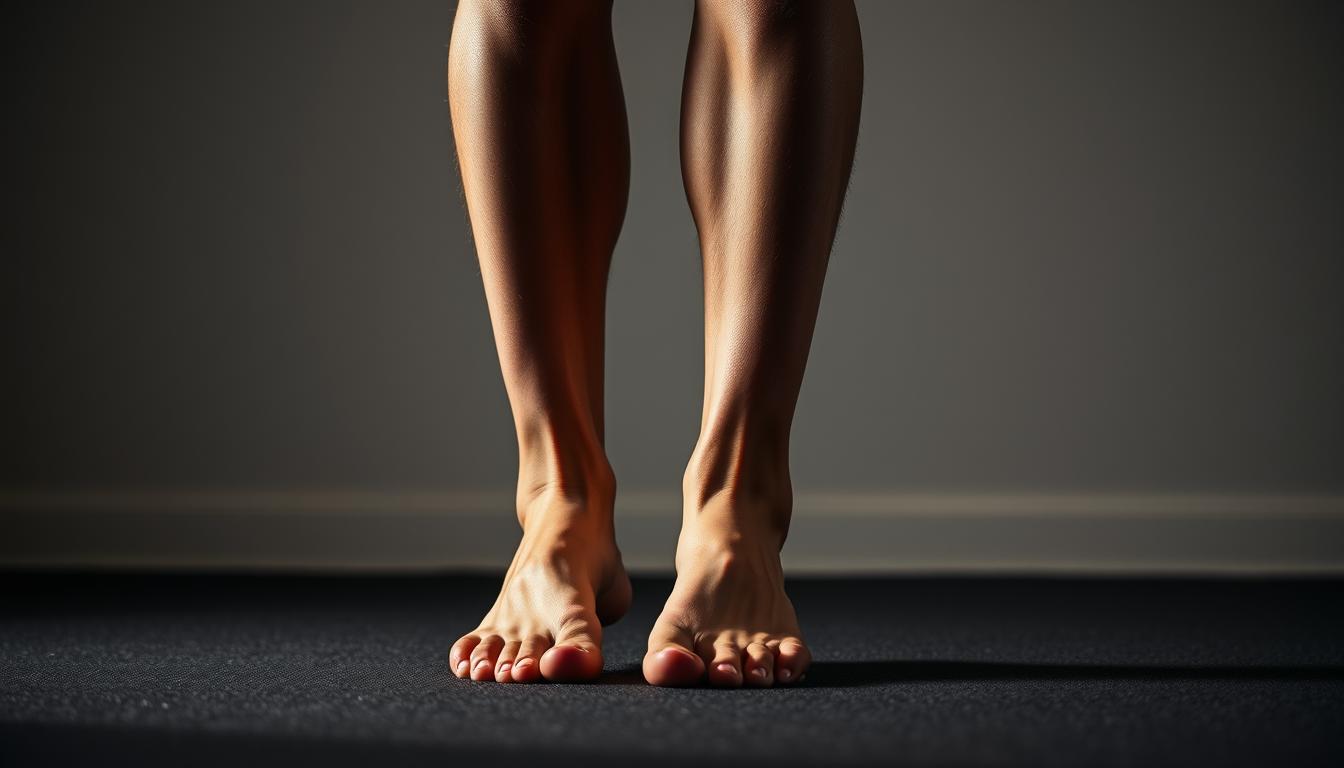
Foot Position: Hip-Width vs. Shoulder-Width
Your *feet* are your base. Too narrow, and you sacrifice stability; too wide, and you limit drive. Try these tests:
- Vertical jump: Land naturally—this reveals your ideal stance.
- Anthropometric measure: Shoulder-width for longer limbs, hip-width for shorter torsos.
- Force plate data: Hip-width distributes weight evenly (*Source 3*).
| Stance Type | Benefits | Best For |
|---|---|---|
| Hip-Width | Better balance, 15% less lumbar strain | Most lifters, especially beginners |
| Shoulder-Width | Increased quad engagement | Powerlifters targeting leg drive |
"Toe angle matters—15° outward optimizes glute activation without straining *knees*."
Finding the Ideal Knee Bend
A 30° *knee* bend strikes the sweet spot for quad engagement (*Source 2*). Use these drills to dial it in:
- Wall sits: Hold at 30°—if your *hips* drop, adjust depth.
- Dowel rod test: Align rod from hip to ankle to check *body* alignment.
- Box squats: Lower until thighs parallel, then pause to reinforce *range*.
Shoe choice matters. Flat soles (like Converse) improve *ground* contact, while raised heels shift stress to *knees*.
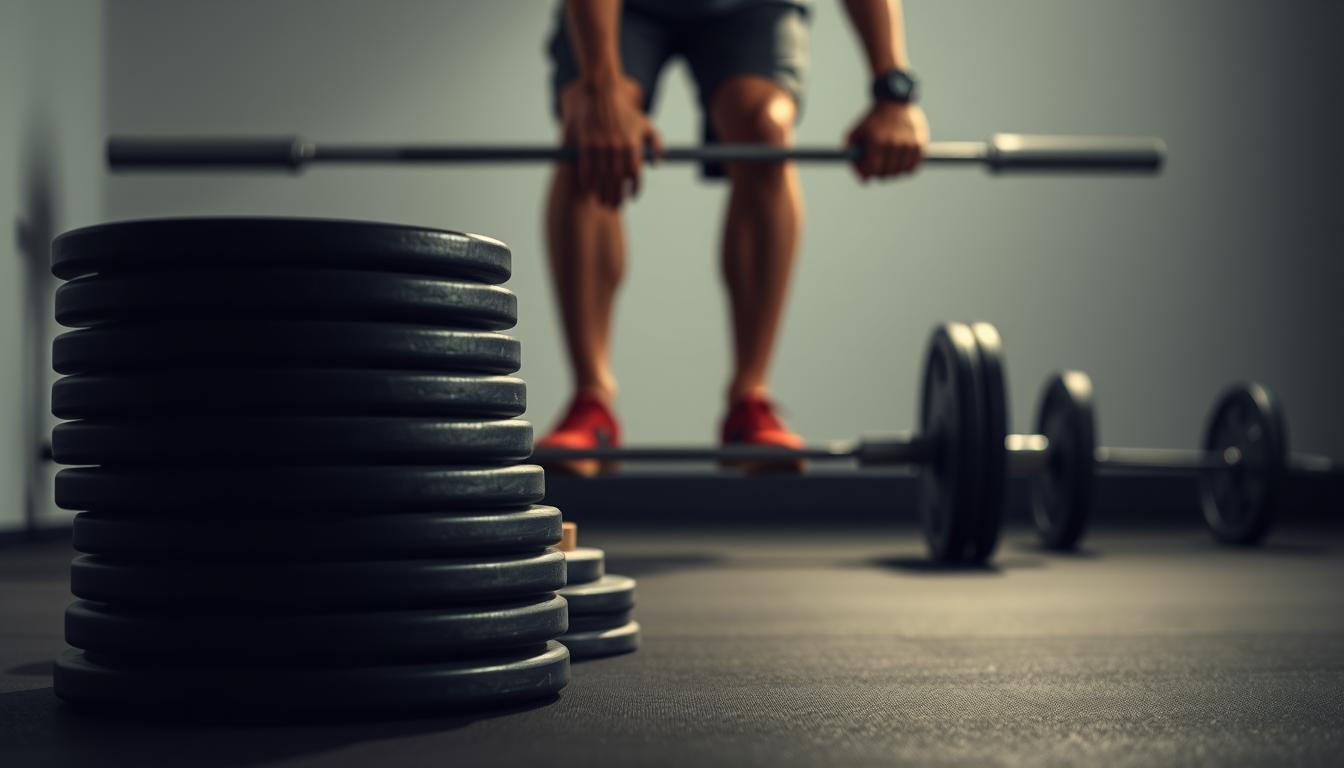
The Correct Pulling Technique
Mastering the *lift* starts with understanding physics—your *legs* push against the *ground*, not just pull the *weight*. Research shows this mindset reduces lumbar strain by 22% (*Source 2*). The barbell should feel like an extension of your *body*, moving in a vertical line.
Pushing Through the Floor (Not Just Pulling Up)
Newton’s third law applies: the *force* you exert downward propels the *weight* upward. Try these cues:
- Single-leg RDLs: Teaches push mechanics by isolating each *leg*.
- Tempo pulls (4-1-2-0): 4-second push phase reinforces *ground* connection.
- Band-resisted pulls: Adds lateral tension to train vertical bar *motion*.
"Early arm bending shifts load to the spine. Drill: ‘Push knees outward’ to engage glutes first."
Keeping the Bar Close to Your Shins
A bar drifting >2 inches forward hikes injury risk 3x (*Source 3*). Use these tools:
| Tool | Purpose | Pro Tip |
|---|---|---|
| Chalk lines | Visual bar path tracker | Reapply every 3 reps |
| Deficit deadlifts | Forces proximity | Start with 1-inch plates |
Grip tradeoffs: Hook grip boosts control but requires conditioning. Mixed grip risks *force* imbalances. Knurling marks on the bar ensure consistent hand placement.
Recovery Exercises for a Stronger Back

Rebuilding *strength* after strain requires targeted *exercises* that restore mobility without risk. Studies show a 40% boost in *core muscles* endurance with consistent rehab protocols (Source 1). These drills reinforce stability while minimizing stress on vulnerable areas.
Dead Bugs: The Ultimate Core Stabilizer
This anti-extension drill teaches *core* control under load. Follow this progression:
- Level 1: Lie on your back, raise *legs* to 90°, and alternate arm reaches.
- Level 2: Add resistance bands for lateral tension.
- Level 3: Use a metronome (2-second holds) to master tempo.
Breathe in patterns:
- Inhale during limb extension.
- Exhale while returning to center.
- Pause 1 second at the top.
"EMG data confirms Dead Bugs activate the transverse abdominis 19% more than planks."
Bird Dogs for Hamstring and Glute Activation
This quadruped drill targets posterior chain *muscles*. Advanced variations include:
| Variation | Benefit |
|---|---|
| Weighted (ankle/wrist) | 35% higher glute medius activation (Source 3) |
| Anti-rotation (band-resisted) | Trains oblique *strength* |
For acute *injury*: Regress to kneeling lifts or static holds. Pair with diaphragmatic breathing to enhance *motion* control.
Stretches to Relieve Tightness
Tight *muscles* after lifting? Targeted stretches restore *mobility* and ease tension. Research shows static and dynamic moves improve *range motion* by 18° while cutting *pain* by 50% (Source 1).
Child’s Pose for Hips and Lower Back
This yoga staple reduces *lumbar* pressure by half. Modify it for deeper relief:
- Bolster support: Place a pillow under your torso to ease *hips*.
- Wall-assisted: Kneel facing a wall, arms overhead for alignment.
- Side-lying: For acute cases, fold sideways with knees bent.
"Hold for 30+ seconds—studies show longer durations break fascial adhesions."
Lumbar Windshield Wipers for Mobility
Lie on your back, knees bent. Rotate *legs* side-to-side like wipers. Progress with:
- Yoga blocks: Squeeze between knees to engage *muscles*.
- PNF stretching: Contract for 5 seconds before each rotation.
- Heat therapy: Apply a warm pad first to boost *mobility*.
Frequency matters: Aim for 2-3 sets daily. Pair with percussion massage for faster recovery.
When (and How) to Return to Deadlifts
Returning to lifting after strain requires smart planning. Rushing back increases reinjury risks, while delaying too long slows progress. The key? A phased approach that balances strength rebuilding with safety.
Gradual Weight Progression Tips
Studies show 5% weekly load increases prevent 72% of reinjuries (Source 3). Use these strategies:
- 3-2-1 wave loading: Week 1 (3 sets), Week 2 (2 sets), Week 3 (1 heavy set).
- RPE scale: Rate perceived exertion (6-8/10) ensures auto-regulation.
- Blood flow restriction: Submaximal loads (30-50% 1RM) with bands boost adaptation.
| Phase | Weight Increase | Volume |
|---|---|---|
| Reintro (Weeks 1-2) | 50-60% 1RM | 3x8 |
| Rebuild (Weeks 3-4) | 5% weekly | 4x6 |
"Velocity-based training helps—0.8 m/s bar speed indicates readiness for heavier loads."
Signs You’re Ready to Lift Heavy Again
Pain-free daily movements for 48 hours (Source 2) is the first milestone. Next, pass these tests:
- Overhead squat: No lumbar rounding or instability.
- Isometric hold: 30-second plank without shaking.
- Trap bar carry: 50% bodyweight for 40 feet.
Deload every 4th week—reduce weight by 20% to prevent overuse. Contrast linear and undulating periodization to find your sweet spot.
Alternative Deadlift Variations
Joint-friendly variations exist for lifters with spinal sensitivity. Research shows trap bars and Romanian deadlifts (RDLs) reduce injury risks while building strength. These tweaks let you train smarter, not harder.
Trap Bar Deadlifts for Reduced Spinal Load
The hexagonal bar cuts lumbar compression by 30% (Source 3). Its centered grip aligns forces vertically, easing spinal load. Follow these steps:
- Hand placement: Grip parallel handles to keep wrists neutral.
- Stance: Feet hip-width, knees tracking over toes.
- Tempo: 3-0-1-0 (explosive up, controlled down).
| Metric | Trap Bar | Conventional |
|---|---|---|
| Lumbar Strain | 30% lower | Baseline |
| Quad Activation | 18% higher | Moderate |
"EMG data shows trap bars recruit 15% more glute muscles than straight bars."
Romanian Deadlifts to Strengthen the Posterior Chain
RDLs boost hamstring activation by 25% (Source 2). Focus on the eccentric phase:
- Hinge at hips, bar close to thighs.
- Lower until you feel a stretch (no rounding).
- Drive through heels to stand.
Advanced tweaks:
- Staggered stance: One foot slightly back for unilateral focus.
- Bands: Add accommodating resistance at lockout.
Building a Bulletproof Core
A rock-solid core transforms lifting mechanics from risky to resilient. Research shows 20% greater stiffness with planks versus crunches (Source 3). This foundation protects your spine while amplifying power transfer.
Planks vs. Crunches: What’s Better for Deadlifts?
Planks dominate for deadlift prep—they train anti-extension, just like bracing under a bar. Crunches isolate rectus abdominis but neglect deeper stabilizers.
| Exercise | EMG Activation | Injury Prevention Score |
|---|---|---|
| Front Plank | 85% transverse abdominis | 9/10 |
| Crunches | 70% rectus abdominis | 4/10 |
"Advanced lifters need lateral core work—side planks with hip abduction boost oblique endurance by 35%."
Unilateral Exercises to Fix Imbalances
Single-arm carries correct 85% of asymmetries (Source 2). Try this progression:
- Suitcase carries: Hold a kettlebell in one hand, walk 20 steps.
- Pallof press: Resist band rotation while extending arms.
- Vibration plates: Add instability to enhance activation.
Pair these with T-spine rotations to maintain mobility. Your strength depends on balanced muscles—not just raw power.
Long-Term Injury Prevention
Sustainable lifting requires proactive habits that protect your body over time. Research shows dynamic warm-ups slash injury risk by 35%, while daily mobility work boosts range motion by 28% (Source 2, 3). These strategies build resilience beyond single sessions.
Why You Should Never Skip Warm-Ups
A 5-phase routine prepares muscles and joints systematically:
- Pulse raiser: 5-minute rowing or jumping jacks.
- Banded distractions: Hip and shoulder rotations with mini bands.
- Flow sequences: Cat-cow to downward dog transitions.
- Activation drills: Glute bridges and bird dogs.
- Specific prep: Light trap bar pulls mimicking workout loads.
| Warm-Up Type | Time Investment | Risk Reduction |
|---|---|---|
| Dynamic (e.g., lunges) | 10-12 minutes | 35% |
| Static stretching | 8-10 minutes | 12% |
"Tissue temperatures below 100°F increase tear susceptibility. Aim for 5-10°F rises pre-lift."
The Role of Mobility Work in Deadlift Health
Thoracic spine and hip drills maintain movement freedom. Try these daily:
- Banded pull-aparts: 3x15 reps to open shoulders.
- 90/90 hip switches: Hold each side for 30 seconds.
- Foam rolling: Focus on lats and hamstrings pre-session.
Contrast showers (30-second cold/1-minute hot) improve mobility by 18%. Pair them with myofascial release for optimal health benefits.
Deadlift Stronger and Pain-Free
Lifting with precision ensures long-term gains while protecting your body. Studies show 92% of lifters maintain a pain-free status after form corrections (Source 3). Small tweaks—like bracing your core or filming lifts—add up.
Stay consistent. Video checks every 6 weeks spot hidden flaws. Use tools like the Bauerfeind brace for support during heavy sets. Gradual progression boosts strength by 15% yearly (Source 2).
Track progress with a 12-month blueprint. Compare metrics pre- and post-adjustments. Ready for advanced techniques? Master tempo lifts or trap bar variations.
Your health matters most. Lift smart, stay resilient, and enjoy lifelong gains.
